How to build a wildlife pond
For many people, the word ‘wetlands’ conjures up images of lakes, marshes and large stretches of land, such as WWT reserves. But the reality is that any place where water collects can be a wetland.
Ponds are small, but when you add up all the ponds across the country, they hold a vast amount of water. Yet we’ve lost over 50% of our ponds in the last century, in favour of neat lawns and paving.
Why do ponds matter?
Creating a pond is one of the most important things you can do for wildlife in your garden. It is vital habitat for wetland wildlife like frogs and dragonflies. It’s also great for many species of garden plant, insect, bird and mammal.
Garden ponds are crucial to keeping wetland wildlife thriving in our towns and cities. Even in the most urban, concreted environment, a garden pond can be a mini-wetland, storing rainfall and releasing it slowly, which helps reduce the effects of heavy rainfall or long dry spells.
What size pond should I go for?
- If space is tight, many of the benefits of a garden pond can be achieved simply by letting a large watertight container – such as an old sink, half-barrel or bathtub – fill with rain, then varying its depth by putting in plants, planters, rocks and pebbles.
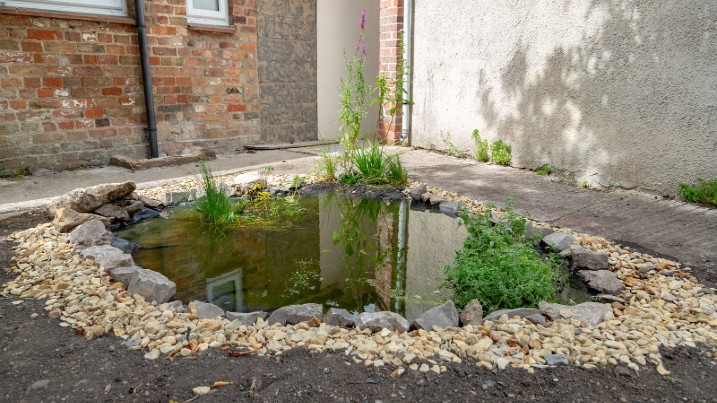
- Size is a matter of taste and space – it’s your call! While ponds with a surface area of at least four square metres are better for wildlife, even smaller ponds can look just as attractive and provide equally welcome rest and refreshment sites for many creatures.
- Even if you decide on a bigger pond, remember most of the wildlife will be around the edge. Allow for an area of plants around the pond too so that frogs or newts have some good cover to hide amongst.
Pond safety
Creating your pond near the edge of your space makes it easier to fence off if vulnerable people including small children are around. You can also buy safety nets or meshes that will support a person’s weight so they can’t fall in.
Over-curious animals can also be a worry. But if one were to fall in, the ledges you created to help amphibians climb out the pond will help them to climb out too.
A step-by-step guide
Step 1: choose the site
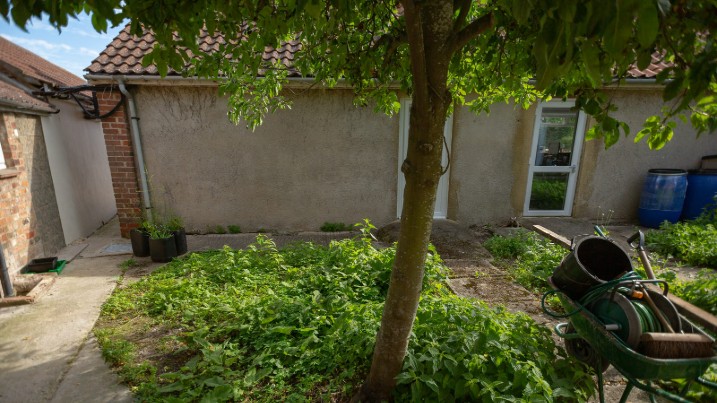
- For safety, a pond towards the edge or a corner of your area is easier to block off if needed.
- Being near a fence or shed will help to protect the pond from the worst of winter frost or summer heat. But not complete shade – it will also need sunlight for some of the day in order for plants to grow and creatures to live among them.
- If you’re near a building, you can also divert rainwater from a drainpipe into the pond. It will naturally flush through every time there’s heavy rain. Find out how.
- If possible, stay away from leaf-shedding trees or bushes which could fill your pond with decaying leaves or their roots could puncture your pond lining.
Step 2: digging a hole
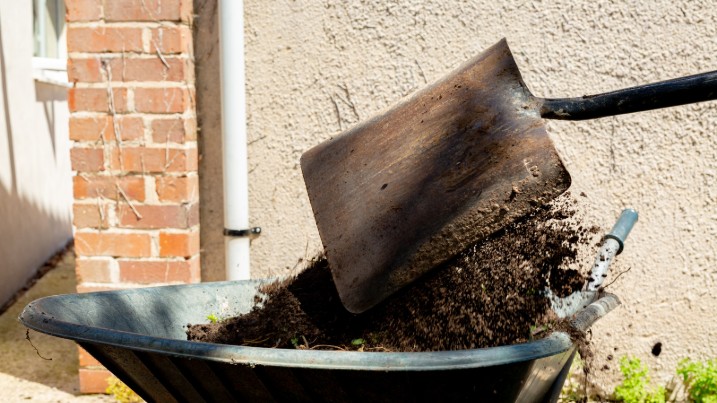
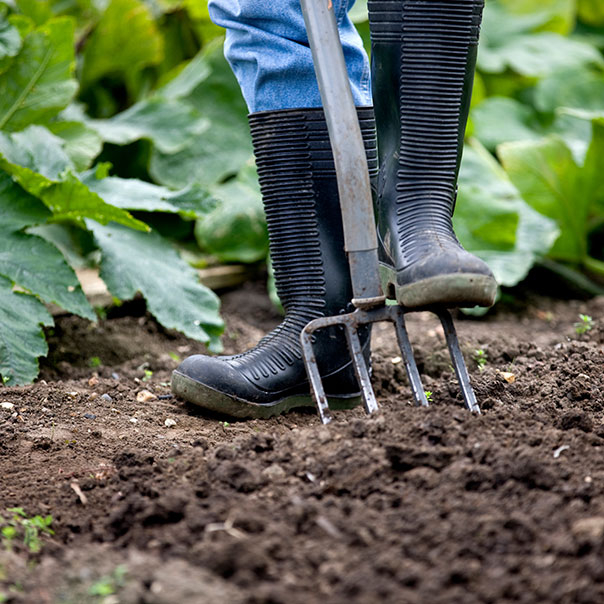
- The most strenuous part of pond-building is digging the hole. A good suggestion for maximum depth is the length of your arm – so that you’ll be able to reach down and retrieve anything accidentally dropped into the pond.
- Pre-formed plastic ponds are available from major DIY stores and come with instructions. Usually you’ll need to dig a hole to fit, level the hole to ensure it’s flat, and bed the liner into a wetted sand or scree mix to give it a firm support all around.
- Many people prefer a flexible liner which means you don’t have to dig and level an exact shape, and have freedom to dig the shape you want in the space you have.
- Dig varying levels. A ledge of around 20cm deep will be good to place aquatic pot plants upon. Build the ledge around a narrower corner so that if you need to lift the pot plants, you can easily straddle the corner which will make them easier to lift.
- Generally the ledge shouldn’t be less than 10cm deep so there’ll be an unfrozen space below the surface in winter.
- Keep the basic shape of the hole simple – curves can be included if you want to add interest but too many wavy edges will only make it trickier to fit the liner.
- Save the top soil you have removed separately; it will come in useful later, either at the edges of the pond or to enrich other parts of the garden.
Step 3: lining the hole
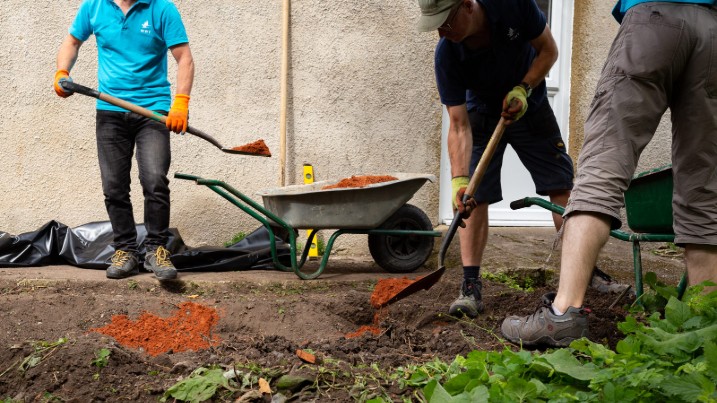
- You will need to buy a sheet of heavy duty liner, such as butyl or EPDM, roughly twice the length and width of the hole, to allow for depth, shape and edging.
- Before laying the liner, remove all sharp stones, roots and weeds from the base and sides of the hole, then cover all the bare earth with about 2.5cm (1 inch) of old carpet, newspaper and/or damp sand (to avoid tears to the next layers, and suppress weeds).
- Using soil from the spoil heap or extra sand, build some mounds and ridges for interest, and create stairways and/or slopes at intervals around the edge (so that any wildlife visitors which fall in accidentally, or like to sunbathe, can get in and out safely).
- Next, lay the liner in a double layer loosely over the pond, leaving a generous overlap all around. Then start adding water slowly, letting the plastic sink gradually and take on the right shape.
- Be aware that the liner may need a bit of adjusting at this stage, depending on how many nooks and crannies it has to cover. Watch carefully for leaks, too (even though they are unlikely) or for shapes which don’t work and need re-arranging.
Step 4: filling the pond
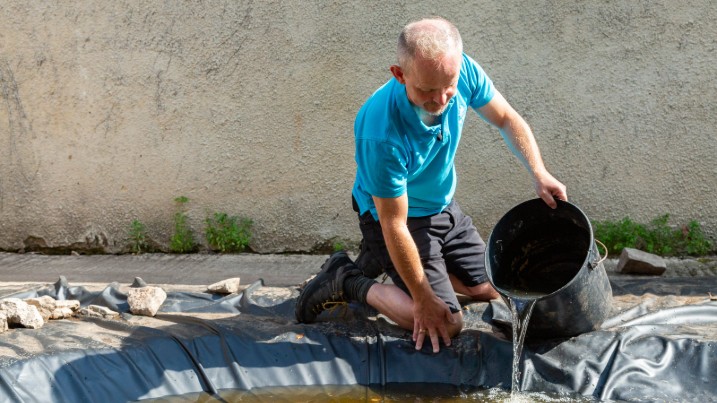
- It is far better to fill wildlife ponds with rainwater, either from a water butt or by letting nature takes its course.
- This is because tap water contains chemicals which may harm wildlife and is so rich in certain nutrients that the pond may quickly resemble a pea soup of algae.
- If tap water must be used, be sure to let it naturalise for at least a week before adding any forms of life, including plants.
Step 5: finishing touches
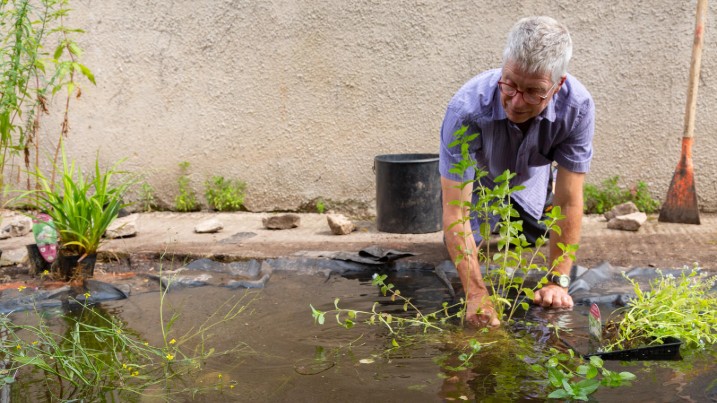
- Once the pond is full, trim the liner to a width of about of about 30-45cms (12-18 ins) all round and weigh it down with bricks, rocks, pebbles, logs, top soil, planters or the like.
- Later, plants and grasses can be added here to hide the liner, create a natural-looking edge and provide extra havens for wildlife.
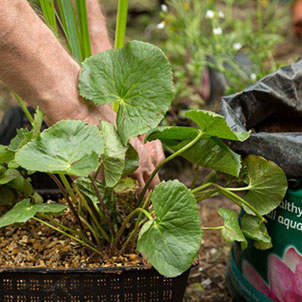
- Adding plants to a pond is essential as they help to keep the water clean, clear, oxygen-rich and prevent algae from taking over, and you’ll need different types for different functions. Our pond plants guide is designed to help you pick attractive native plants that wildlife will love.
- Think about the pond’s surroundings too. Plants like marsh marigold or lady’s mantle can spread around the pond, giving it a naturalistic feel and plenty of hiding spaces for visiting amphibians.
Step 6: watch and marvel
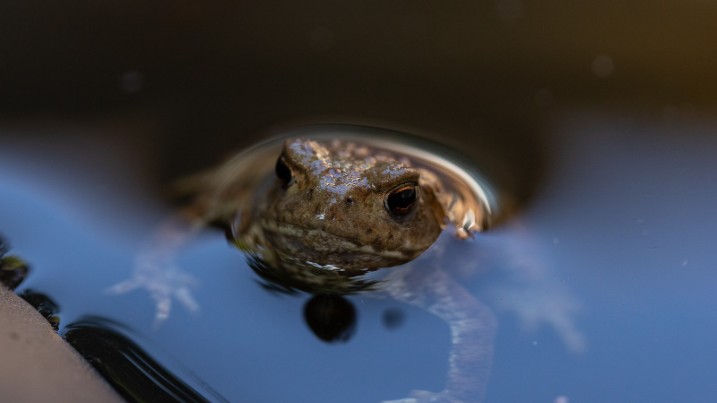
People are often surprised and delighted by how quickly wildlife homes in on a new pond. It isn’t at all unusual to see water boatmen sculling across the surface or to see adult frogs hopping in and out within a couple of weeks of a new pond's creation.
Pond owners also enthuse about the stress-busting pleasure they and their families get from watching pond lifecycles close up.
Now you’ve built your pond, it’s time to enjoy it!
Wildlife ponds at WWT
All of our centres have ponds built for wildlife. Here are a few examples:
At WWT Washington, the wildlife ponds near the River Wear are bursting with amphibians including sightings of the increasingly scarce great crested newt. The waterside pathways allow you to get close to wildlife – perfect for photography.
The dragonfly ponds at our Welney reserve are havens for these miniature flying hunters, with a large biodiversity of both dragon and damselflies. Butterflies and bees also join them on the wing.
